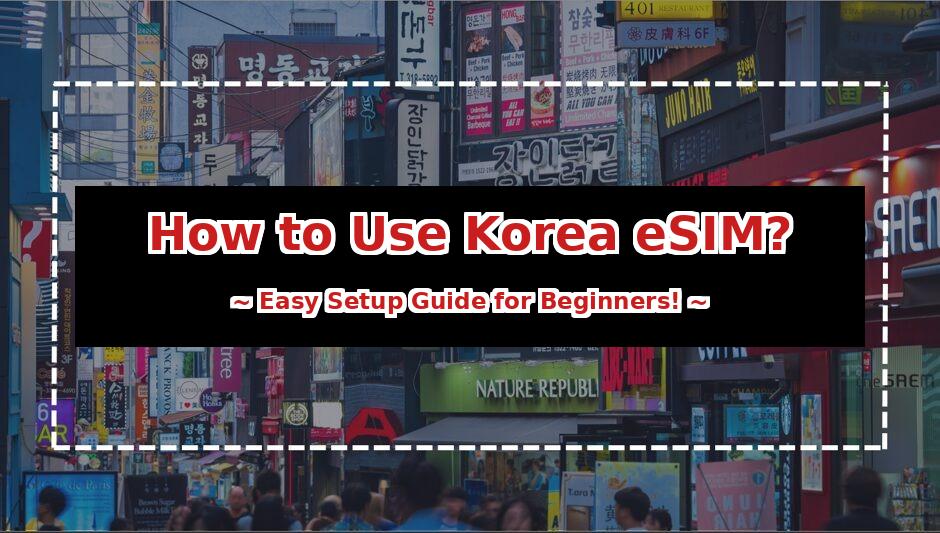
Have you purchased an eSIM for your trip to South Korea, but feel anxious about how to set it up? It is completely natural to worry, “What if I can’t connect when I get there?” especially if it’s your first time.
To put your mind at ease, using a Korea eSIM is actually very simple. The entire process consists of just a few steps: checking device compatibility, making your purchase, installing the profile, and switching your line once you arrive. There are almost no complicated operations involved.
In this article, we will guide you through the step-by-step setup process for both iPhone and Android, making it easy to follow even for beginners. We have also included troubleshooting tips in case you run into connection issues, so you can use this to prepare before you depart.
Using a Korea eSIM can be broadly divided into 5 simple steps. The process is split into preparation before your departure and operations after arriving in Korea. Understanding this distinction will help you navigate the setup without getting lost.
First, let’s look at the big picture.
| Step | Action | おすすめのタイミング |
| Step 1 | Check Device Compatibility | Before Purchase |
| Step 2 | Purchase a Plan | A Few Days Before Departure |
| Step 3 | Scan the QR Code | Before Departure (While in Japan/Home Country) |
| Step 4 | Switch Lines on Arrival | After Arriving in Korea |
| Step 5 | Turn On Data Roaming | After Arriving in Korea |
The key is to complete up to Step 3 while you are still at home. Most Korea eSIMs only become active once they receive a local signal in Korea, but the activation timing and expiration period vary depending on the product. Be sure to check the activation conditions and validity period of each plan before purchasing.
The first thing you need to confirm is whether your smartphone supports eSIM. If your device is not compatible, you will not be able to use an eSIM at all.
For iPhone users, Apple’s official support states that “iPhone XS, iPhone XS Max, iPhone XR, and later” models are compatible. Android compatibility varies by model, so a more careful check is required.
The easiest way to check on your phone is to go to your settings and see if there is an option to “Add eSIM,” or if an “EID” (identification number) is displayed.
Once you have confirmed compatibility, choose a plan that matches your length of stay and data needs. For Korea, short-term plans of 3, 5, or 7 days are the most popular.
The purchase can be completed entirely online, with payments accepted via credit card, Apple Pay, Google Pay, and other methods. After purchasing, you will typically receive a QR code via email or through an app.
For example, the Korean eSIM from “DHA SIM” (provided by DHA Corporation) can be purchased on major EC platforms like Amazon or Rakuten without any initial registration or credit card sign-ups. You can use it instantly just by scanning the QR code, making it an excellent choice for those who value hassle-free convenience.
👉 Check out DHA SIM’s Korean eSIM services!
Make sure to scan the QR code you received before departing. As long as you have a stable Wi-Fi or internet connection, the setup takes only a few minutes.
Once scanned, the eSIM profile will be installed on your phone, but data transmission will not start yet. The system is designed to activate only after you arrive in Korea.
Note: If you only have one smartphone and cannot display the QR code to scan it, you can print it out or enter the details manually.
Once you arrive in Korea, switch your active line to the installed eSIM. In your settings, turn on the eSIM line and select it as your primary line for “Mobile Data.”
At this point, the key is to “keep your primary home SIM turned ON, but turn Data Roaming OFF for that home line.” If you turn off your home line completely, you won’t be able to receive SMS or verification codes sent to your home number. By keeping the line on but turning off its data roaming, you can prevent unexpected high roaming charges from your home carrier while still being able to receive important text messages and calls.
Please note that while receiving SMS is usually free, making/receiving voice calls or sending international SMS while abroad may incur additional charges. Don’t forget to switch your mobile data back to your primary home line after returning home.
Finally, turn on “Data Roaming” for your newly selected eSIM line. This will initiate your connection to the local Korean network, allowing you to use maps, messaging apps, and social media immediately.
Some people worry about high fees when they hear the word “roaming.” However, roaming on an international eSIM is strictly within the limits of the pre-paid plan you already purchased…
There is a clear reason why eSIMs are the preferred choice for travelers heading to South Korea. Compared to other connectivity options, they are one step ahead in terms of both ease of preparation and on-the-ground convenience.
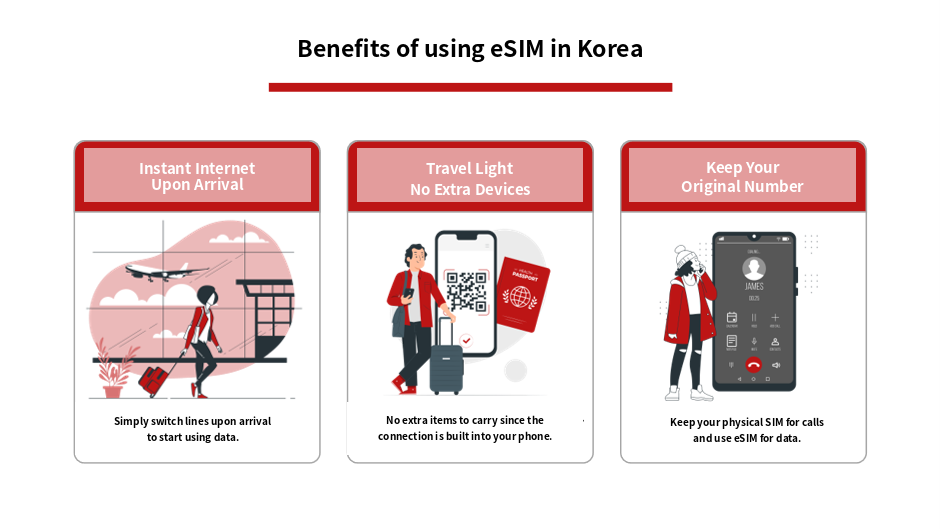
Here, we will explain the key benefits.
One of the biggest draws of an eSIM is that you can get online the very moment you land. If you complete the setup before your departure, all you need to do upon arrival is switch your active line to start browsing.
There is no need to search for rental counters or wait in long lines at Incheon or Gimpo Airport. Even if it is your first time in Korea, having immediate access to map and translation apps as soon as you step off the plane provides immense peace of mind.
Since an eSIM integrates cellular functionality directly into your smartphone, you don’t have to carry around extra devices like a pocket Wi-Fi router. This also means fewer charging cables and backup batteries to worry about.
With pocket Wi-Fi, if the router’s battery dies, your phone instantly loses connection. With an eSIM, everything is completed on a single smartphone, making your sightseeing experience incredibly light and hassle-free.
If your smartphone supports eSIM, you can keep your physical home SIM card in your device while using the eSIM solely for mobile data. This setup is called “Dual SIM.”
The key is to keep your primary home line turned ON, but turn Data Roaming OFF for that line. By doing this, you can avoid unexpected data charges from your home carrier while still receiving SMS and verification codes sent to your home phone number while in Korea. This ensures you can handle online banking verifications or reservation confirmation messages without any panic.
While eSIMs are incredibly convenient, understanding their limitations can help you avoid any unexpected trouble. Knowing these drawbacks in advance will allow you to make an informed decision on whether an eSIM is the right fit for you.
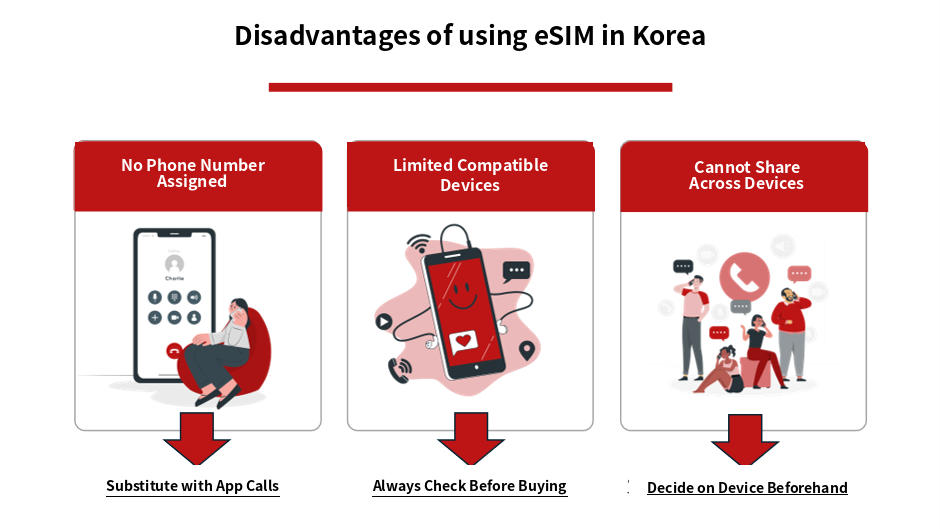
Here, we will explain the disadvantages and how to handle them.
Most Korea eSIMs are designed for data communication only. Therefore, they are not suitable for making local phone calls or using services that require a local phone number for verification.
However, for most travelers, internet-based call apps like LINE, KakaoTalk, or WhatsApp are more than enough to stay in touch. If you absolutely need a local phone number, you may want to consider a physical SIM card that includes voice calling.
eSIM technology is not supported by all smartphones; it is limited to specific compatible models. Older smartphones and some Android devices may not support eSIM.
Realizing your phone is incompatible on the day of your trip can be a major setback. As mentioned in Step 1, make sure to check your device compatibility before you depart.
Once an eSIM is installed, it is locked to that specific device. Unlike a physical SIM card, you cannot simply swap it out to use on another smartphone.
If you plan to switch devices during your trip, decide which smartphone you will use beforehand. If you want to share your internet connection with family or friends, you can also use your phone’s tethering (personal hotspot) feature.
It can be incredibly stressful when you have set everything up but find yourself unable to connect to the internet upon arriving in Korea. However, most connection issues are caused by minor setting discrepancies and can be easily resolved if you stay calm and check a few key points.
Here are the troubleshooting steps to try when your eSIM is not connecting.
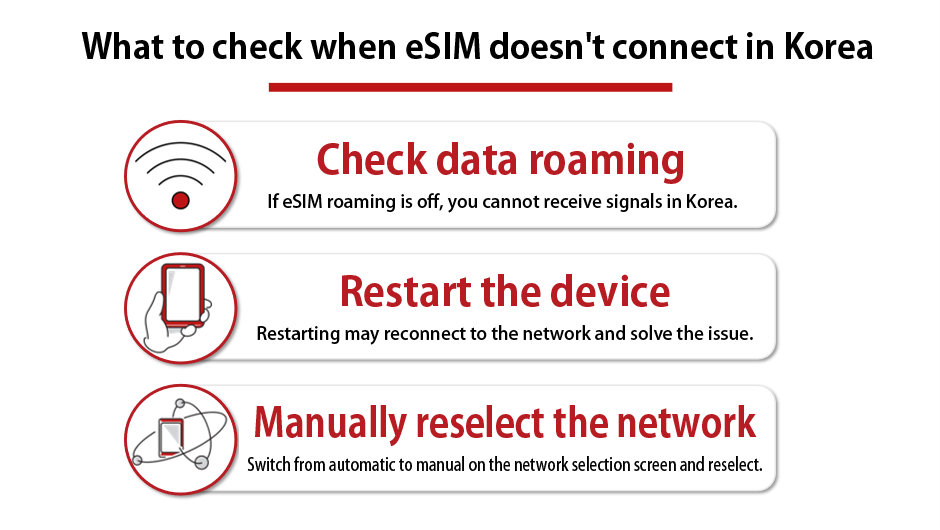
The first thing you should check when you can’t connect is your Data Roaming setting. If data roaming is turned off for your eSIM line, your phone will not be able to receive local signals in Korea.
Go to your settings, select your eSIM line, and ensure that “Data Roaming” is turned ON. In many cases, simply enabling this will start your internet connection immediately.
If you have turned on data roaming but still do not see any signal bars, try restarting your smartphone. Restarting often helps your phone reconnect to the network and resolves the issue effortlessly.
Before restarting, it is also effective to turn off your Wi-Fi. If your phone remains connected to a weak Wi-Fi signal at the airport, it may interfere with your eSIM connection.
If the connection still does not improve, you can try selecting your network carrier manually. The three major telecom carriers in South Korea are KT, SK Telecom, and LG U+.
In your network settings, switch the selection from “Automatic” to “Manual” and try selecting one of these carriers. Depending on your location, simply switching to a different carrier can stabilize your connection.
While there are many eSIM options available for South Korea, you will want to choose a service that is hassle-free and easy to use, especially if it is your first time. If you prioritize easy setup and minimal paperwork, DHA SIM is your best choice.
First, let’s take a quick look at the features of DHA SIM’s Korean eSIM.
| Item | 内容 |
| Plans | Unlimited eSIM plans ranging from 1 to 30 days |
| Network | Supports high-speed 5G/4G on major local carriers like SK Telecom |
| Setup | No physical card needed; simply scan the QR code |
| Paperwork | Instant issuance with no ID submission, contracts, or admin fees |
| Support | Customer support available in Japanese, English, and Chinese |
| Benefits | Earn JAL (Japan Airlines) Mileage |
DHA SIM allows you to choose the exact number of days to match your travel style, while offering ultimate convenience in setup and purchasing. Let’s look at the reasons why DHA SIM is so widely chosen.
👉 Check out DHA SIM’s Korean eSIM services!
With DHA SIM’s eSIM, there is no need to swap out physical SIM cards. The setup begins immediately after scanning the QR code sent to you after purchase.
The setup guide is provided in Japanese and is attached directly to your email. Even if you are using an eSIM for the first time, you can follow the guide step-by-step for a smooth, hassle-free installation.
DHA SIM’s eSIM requires no identity verification, contract procedures, or administrative fees. There is no need to apply for activation; your QR code is issued immediately after your purchase is completed.
This means you can prepare even right before your departure, making it perfect for sudden or last-minute trips. The lack of paperwork is a huge advantage for those who want to save time on travel preparations.
DHA SIM’s Korean eSIM lineup includes plans that utilize the SK Telecom network. As one of South Korea’s leading carriers, it provides reliable 5G and 4G connectivity.
Whether you are in downtown Seoul or traveling between cities, you will have a stable connection to use maps, social media, and more. This is an ideal choice for those who prioritize network quality.
DHA SIM provides customer support in Japanese, English, and Chinese. You can consult them for everything from choosing the right plan and checking device compatibility before purchase, to setup guidance after your purchase.
Even if you encounter SIM-related issues while abroad, having support available in your native language is incredibly reassuring, especially when language barriers can make travel stressful.
DHA SIM has a mileage partnership with Japan Airlines (JAL), allowing you to earn 1 mile for every 200 yen spent on your purchase. Simply enter your JMB (JAL Mileage Bank) membership number and registered name on the shopping cart screen, and your SIM purchase will turn into miles! Miles will be credited within 2 to 3 months after your product arrives. Earning JAL miles on your travel eSIM is a fantastic bonus for travel enthusiasts and frequent business flyers.
👉 Earn JAL Miles | DHA MOBILE
Here are answers to some of the most common questions about using an eSIM in South Korea. Check these details to ease any worries before you depart.
| Question | Quick Answer |
|---|---|
| Can I use a phone number? | Most plans are data-only. No local phone number is provided. |
| Can I use tethering (hotspot)? | Yes, most plans support tethering to share internet. |
| How much data do I need per day? | Around 1GB per day is recommended for maps and social media. |
| Should I delete the eSIM after returning? | Yes, you can safely delete it once you are back home. |
Most Korea eSIMs are for data communication only, so they do not come with a local phone number. If you need a phone number for making restaurant reservations or local verifications, a physical SIM card may be more suitable.
On the other hand, internet-based calls via apps like LINE, Instagram, or WhatsApp work perfectly fine using mobile data. For most travelers, app-based communication is more than enough.
Yes, most Korea eSIMs support tethering. You can use your smartphone as a Wi-Fi hotspot to connect your tablet or laptop.
This is highly useful when you want to share your internet connection with family or friends. However, please note that some budget plans may have restrictions, so it is best to check before purchasing.
If your usage mainly consists of checking maps, browsing social media, and searching the web, around 1GB per day is a good benchmark. For a 4-day, 3-night trip, about 3GB to 4GB should be sufficient.
If you watch a lot of videos or enjoy live streaming for K-pop/fandom activities, we highly recommend choosing an unlimited data plan. It is best to choose a capacity that matches your personal usage habits.
Once you return home, simply turn your primary home line back on, and you can use your phone as usual. You can safely delete the Korean eSIM profile once you have finished using it.
However, if you plan to use the same eSIM again and it is still within its validity period, you may choose to keep it. Make your decision based on your next travel schedule.
Let’s recap the key points of this article:
・Using a Korea eSIM is simple: check compatibility, purchase, install, and switch lines upon arrival
・While setup screens differ slightly between iPhone and Android, scanning the QR code is the basic method for both.
・Pros: Instant internet access upon arrival and less baggage. Cons: No local phone number.
・Troubleshooting: Most connection issues can be resolved by checking data roaming, restarting your device, or manually selecting the network.
・Choose your data capacity based on your needs; 1GB per day is a good standard for maps and social media.
By mastering these steps before you depart, you can enjoy a seamless and comfortable internet connection the moment you step foot in South Korea.
If you are looking for the perfect eSIM for your upcoming trip to Korea, DHA SIM is highly recommended. With simple setup, our Korea plans will get you online immediately upon arrival. We offer a wide lineup to make your overseas travel easy and affordable—check them out via the link below!
👉 Click here for the DHA SIM Product List