


An eSIM (embedded SIM) is a digital SIM built directly into your smartphone. Unlike traditional physical SIM cards, it eliminates the need for manual swapping, allowing you to contract and activate your service entirely online. This convenience has led to its rapid adoption worldwide. In this article, we will explain the differences between eSIMs and physical SIMs, their key benefits and drawbacks, how to check device compatibility, and the step-by-step process for switching.
- An eSIM is a digital SIM embedded in your phone, activated by downloading a profile online.
- No physical card swapping is required, allowing for activation in as little as a few minutes.
- It makes Dual SIM setups easy, letting you use multiple lines on a single device.
- Not all smartphones support eSIM; you must check your device compatibility beforehand.
- Transferring your service to a new phone requires reissuing the profile online.
What is an eSIM? How It Works and Differences from Physical SIMs
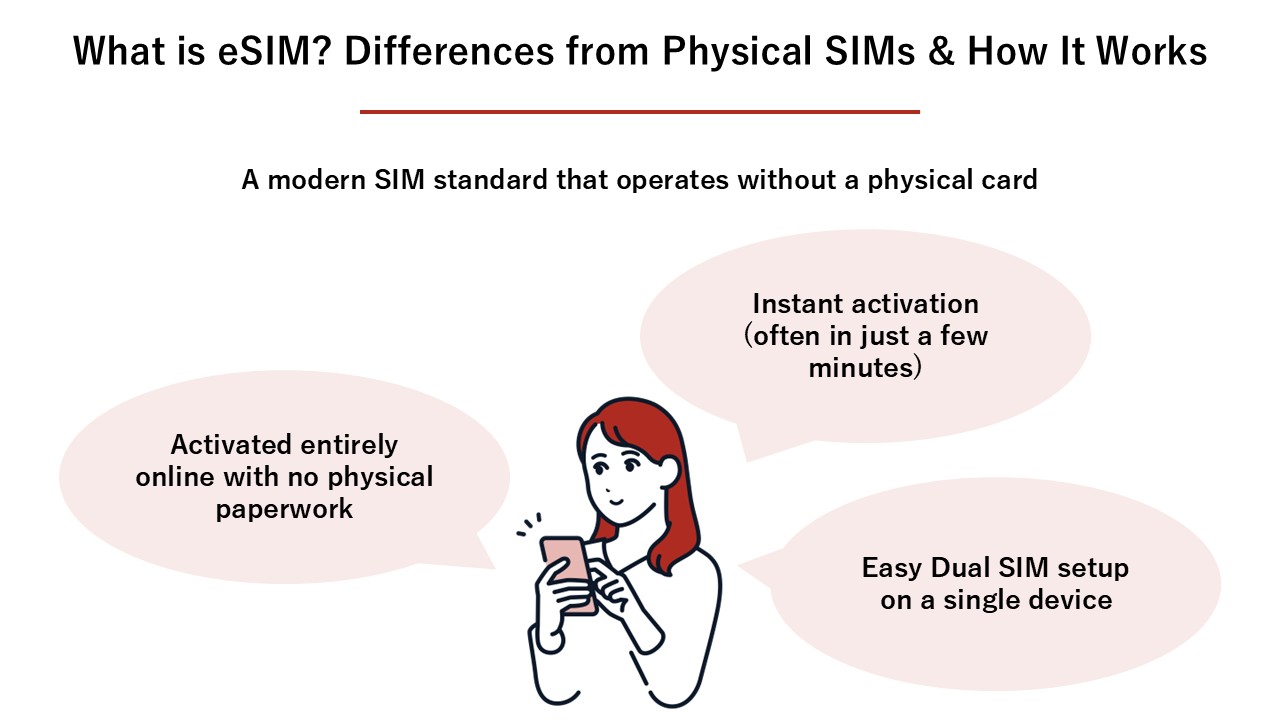
An eSIM is a modern SIM standard that operates without a physical card. Let’s look at how it compares to a traditional physical SIM card.
| Feature | Physical SIM | eSIM |
|---|---|---|
| Form Factor | Removable plastic card | Digital profile downloaded to an embedded chip |
| Activation Time | Requires shipping or in-store pickup | Instant (often within minutes) |
| Multiple Lines | Limited by physical card slots | Easy Dual SIM setup by adding digital profiles |
eSIM: A Digital SIM Embedded in Your Device
An eSIM is a tiny chip soldered directly onto your smartphone’s motherboard during manufacturing. Instead of inserting a plastic card, users download a “profile” (carrier configuration data) over the internet to write the network settings onto the chip. Because you don’t have to wait for a physical card to arrive, you can start using your mobile service almost immediately after signing up.
Key Differences from Physical SIM Cards
While physical SIMs store carrier data on a removable plastic card, eSIMs store this data digitally on the device itself. With physical SIMs, switching carriers means manually swapping cards. With an eSIM, you can switch carriers or activate new plans simply by managing digital profiles in your phone’s settings menu.
4 Key Benefits of Using an eSIM
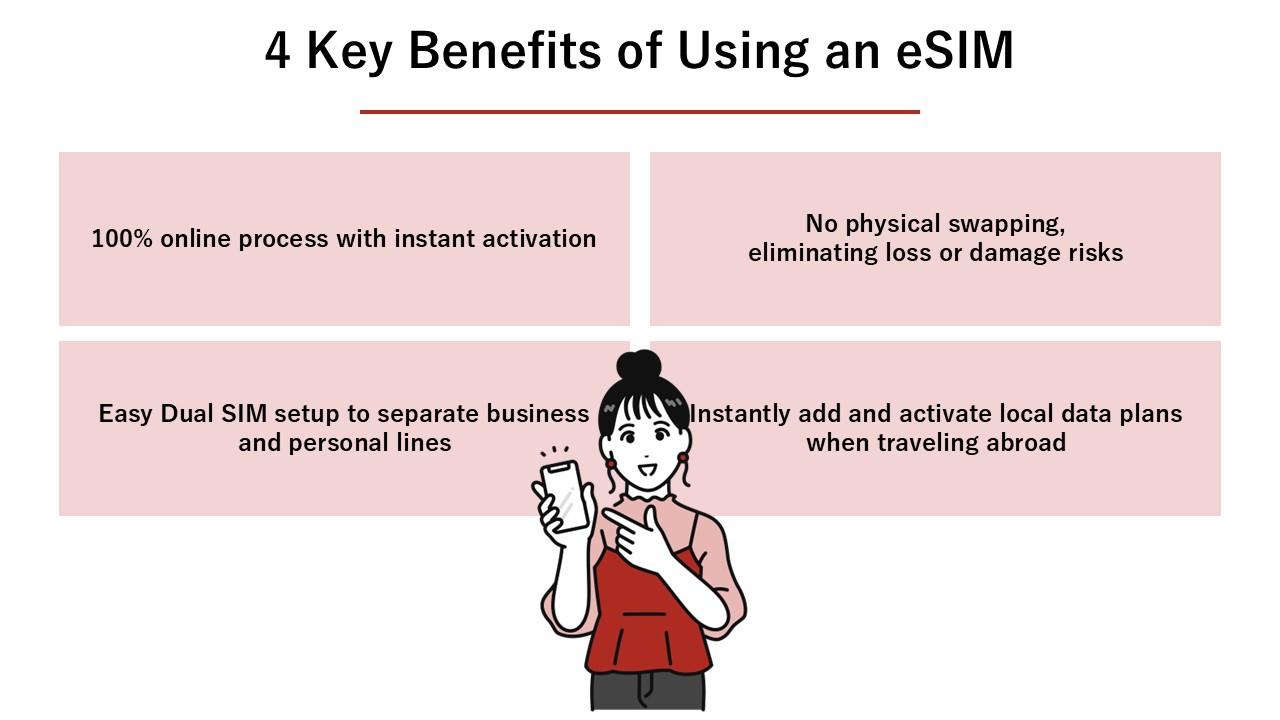
Switching to an eSIM offers numerous advantages, from faster setup times to more flexible daily usage. Here are the main benefits.
| Benefit Category | Specific Advantage |
|---|---|
| Speed & Convenience | 100% online process with instant activation |
| No Physical Risks | No risk of losing or damaging a tiny plastic card |
| Dual SIM Capability | Easily separate business and personal lines on one phone |
| Perfect for Travel | Instantly add and activate local data plans abroad |
100% Online Process with Instant Activation
The biggest benefit of an eSIM is that the entire process—from purchase to activation—takes place online. You don’t have to wait for a SIM card to be shipped to your home or visit a retail store. Once your application is approved, you can activate your plan and start browsing the web immediately, making it ideal for urgent situations.
No Physical Swapping, Eliminating Loss or Damage Risks
Because eSIMs are entirely digital, you never have to handle microscopic plastic cards. Swapping physical SIMs often leads to dropping, losing, or scratching the delicate gold contacts. With an eSIM, these physical risks are completely eliminated.
Easy Dual SIM Setup on a Single Device
Using an eSIM makes it incredibly simple to set up Dual SIM functionality. For example, you can combine a budget-friendly data-only eSIM with your primary physical SIM, or keep separate lines for work and personal use. Even if your phone has only one physical SIM slot, adding an eSIM allows you to carry two active numbers simultaneously.
Instantly Add Local Plans When Traveling Abroad
When traveling internationally, you no longer need to hunt for a SIM kiosk at the airport. You can purchase a local eSIM plan online before you travel and activate it the moment you land. This allows you to keep your home country’s number active (via your physical SIM) for important calls while using the local eSIM for affordable high-speed data.
Drawbacks and Important Considerations of eSIM
While eSIMs are highly convenient, there are a few limitations regarding device compatibility and troubleshooting that you should keep in mind.
| Area of Concern | Specific Drawback / Consideration |
|---|---|
| Device Compatibility | Not all smartphones support eSIM technology |
| Device Upgrades | Transferring your line to a new phone requires reissuing the profile |
| Device Malfunctions | You cannot easily swap your SIM into a backup phone if your current phone breaks |
Not All Smartphones Support eSIM
To use an eSIM, your device must have the built-in chip. For Apple users, eSIM is supported on iPhone XS, XS Max, XR, and all newer models. However, older devices and some budget Android phones do not support eSIM. You must verify your device’s specifications before purchasing an eSIM plan.
Transferring to a New Phone Requires Reissuing the Profile
When upgrading to a new smartphone, you cannot simply move a card from your old phone to the new one. Instead, you must log into your carrier’s portal and request a new eSIM profile. While some modern systems (like Apple’s Quick Transfer) allow direct Bluetooth transfers, many carriers still require a manual reissue process.
Difficult to Swap in Emergencies (e.g., Broken Phone)
If your smartphone suddenly breaks or stops working, a physical SIM card can easily be popped out and inserted into a spare phone to keep you connected. With an eSIM, you must go through the online reissue process on a different device, which can be challenging if you do not have immediate access to Wi-Fi or another internet connection.
How to Check If Your Smartphone Supports eSIM
Before purchasing an eSIM, follow these simple steps to confirm whether your current smartphone is compatible.
| OS / Platform | How to Check Compatibility |
|---|---|
| iOS (iPhone) | Go to Settings > Cellular. Look for “Add eSIM” or “Add Cellular Plan”. |
| Android | Go to Settings > Network & Internet > SIMs. Look for “Download a SIM” or “Add eSIM”. |
Checking Compatibility on an iPhone
Most iPhones released after 2018 (iPhone XS/XR and later) support eSIM. To verify, open your “Settings” app, tap “Cellular” (or “Mobile Data”), and check if you see an option that says “Add eSIM” or “Add Cellular Plan”. If this option is visible, your iPhone is eSIM-compatible. Additionally, ensure your iPhone is carrier-unlocked.
Checking Compatibility on an Android Device
Android compatibility varies significantly by manufacturer and region. To check, open “Settings”, navigate to “Network & Internet” (or “Connections”), and tap “SIMs” or “Mobile Network”. If you see an option to “Download a SIM” or “Add eSIM”, your device supports it. Alternatively, you can check the official specifications of your device model on the manufacturer’s website.
Step-by-Step Guide to Switching to an eSIM
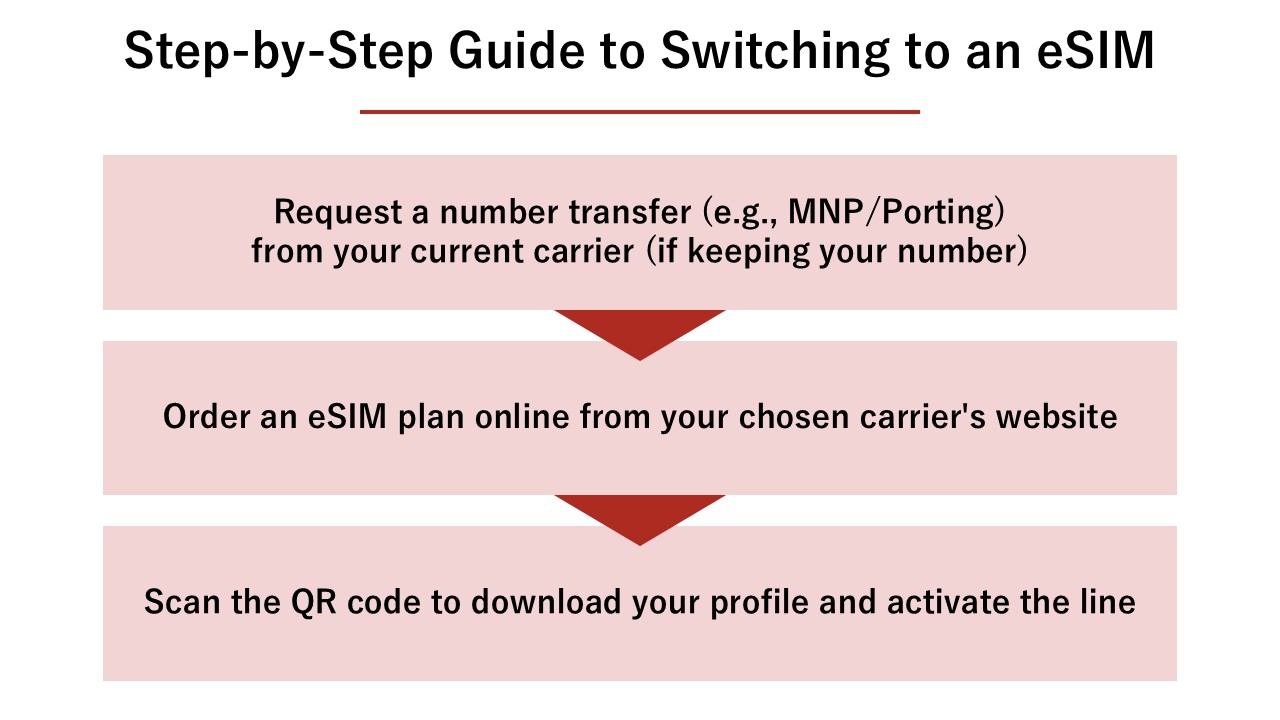
Ready to make the switch? Here is the general process for purchasing and activating an eSIM plan online.
| Step | Action Items |
|---|---|
| Step 1: Preparation | Ensure your device is carrier-unlocked and get your transfer details (if keeping your number). |
| Step 3: Purchase | Order an eSIM plan online from your chosen carrier’s website. |
| Step 3: Activation | Scan the provided QR code to download the profile and restart your device. |
1. Prepare Your Device and Number Transfer
First, make sure your current smartphone is network-unlocked (SIM-free). If you want to keep your existing phone number when switching carriers, you may need to request a number transfer code (such as an MNP reservation number in Japan or a Porting Authorization Code in other countries) from your current provider.
2. Purchase Your eSIM Plan Online
Once prepared, visit your new carrier’s website and select the eSIM option during checkout. You will need to fill out your details and complete an online identity verification (eKYC) process, which usually requires taking a photo of your ID (like a driver’s license or passport) and your face.
3. Download the Profile and Activate
After your application is processed, the carrier will send you an activation email containing a QR code. Connect your phone to Wi-Fi, scan the QR code using your phone’s settings menu, and follow the on-screen prompts to download the profile. Once downloaded, turn on the new line, restart your phone, and verify that you can make calls and connect to mobile data.